Rendering
Flint uses wgpu 23 for cross-platform GPU rendering, providing physically-based rendering (PBR) with a Cook-Torrance BRDF, cascaded shadow mapping, optional 4x MSAA, and full glTF mesh support.
PBR Shading
The renderer implements a metallic-roughness PBR workflow based on the Cook-Torrance specular BRDF:
- Base color — the surface albedo, optionally sampled from a texture
- Roughness — controls specular highlight spread (0.0 = mirror, 1.0 = diffuse)
- Metallic — interpolates between dielectric and metallic response
- Emissive — self-illumination for light sources and glowing objects
Materials are defined in scene TOML via the material component, matching the fields in schemas/components/material.toml.
Diffuse shading is Lambert by default, but the scene can blend toward Oren-Nayar, soften the terminator with diffuse wrap, and add a Charlie-sheen rim through the [environment] block. Those levers, the light component, and area lights are documented on the Lighting page.
Shadow Mapping
Directional lights cast shadows via cascaded shadow maps. Multiple shadow cascades cover different distance ranges from the camera, giving high-resolution shadows close up and broader coverage at distance. A directional light with a non-zero angular_size gets contact-hardening PCSS shadows instead of the fixed PCF kernel.
Shadows are toggled at runtime from the Rendering & Effects menu (F4), which also offers the shadow-map resolution (512 to 4096). Headlessly, use --no-shadows and --shadow-resolution. See Lighting for details.
Camera Modes
The renderer supports two camera modes that share the same view/projection math:
| Mode | Usage | Controls |
|---|---|---|
| Orbit | Scene viewer (flint edit) | Left-drag to orbit, right-drag to pan, scroll or Q/E to zoom, WASD to orbit by key |
| First-person | Player (flint play) | WASD to move, mouse to look, Space to jump, Shift to sprint |
The camera mode is determined by the entry point: edit uses orbit, play uses first-person. Both produce the same view and projection matrices. A scene’s [camera] block seeds the orbit camera in the viewer and the framing in flint render; in the viewer, Space returns to that authored framing.
glTF Mesh Rendering
Imported glTF models are rendered with their full mesh geometry and materials. The flint-import crate extracts meshes, materials, and textures from .glb/.gltf files, which the renderer draws with PBR shading.
Skinned Mesh Pipeline
For skeletal animation, the renderer provides a separate GPU pipeline that applies bone matrix skinning in the vertex shader. This avoids the 32-byte overhead of bone data on static geometry.
How it works:
flint-importextracts joint indices and weights from glTF skins alongside the mesh dataflint-animationevaluates keyframes and computes bone matrices each frame (local pose -> global hierarchy -> inverse bind matrix)- The renderer uploads bone matrices to a per-entity storage buffer and applies them in the vertex shader
Key types:
SkinnedVertex— extends the standard vertex withjoint_indices: [u32; 4]andjoint_weights: [f32; 4](6 attributes total vs. 4 for static geometry)GpuSkinnedMesh— holds the vertex/index buffers and material for a skinned asset- Skinned pipeline uses bind groups 0–3: transform, material, lights, and bones (storage buffer, read-only, vertex-visible)
Bone buffers are keyed by entity, not by asset. Two entities that instance the same skinned model animate independently; before this change every instance showed whichever skeleton uploaded last. Skinned meshes also cast shadows through a dedicated vs_skinned_shadow shader entry point that applies bone transforms before depth rendering, and both wireframe debug modes draw them posed, using a per-draw unique-edge index buffer.
Billboard Sprites
Billboard sprites are camera-facing quads used for 2D elements in 3D space — enemies, pickups, particle effects, and environmental details. They always face the camera, like classic Doom-style sprites.
The BillboardPipeline is a separate rendering pipeline from PBR, optimized for flat textured quads:
- No vertex buffer — quad positions are generated procedurally from
vertex_index(4 vertices per sprite) - Per-sprite uniform buffer — each sprite gets its own instance data (position, size, frame, anchor)
- Binary alpha — the fragment shader uses
discardfor transparent pixels (avoids order-independent transparency complexity) - Sprite sheet animation — supports multi-frame sprite sheets via
frame,frames_x, andframes_yfields - Render order — billboard sprites render after skinned meshes in the pipeline
Sprite Component
Attach a sprite to any entity with the sprite component:
[entities.imp]
archetype = "enemy"

[entities.imp.transform]
position = [10, 0, 5]

[entities.imp.sprite]
texture = "imp_spritesheet"
width = 1.5
height = 2.0
frames_x = 4
frames_y = 1
frame = 0
anchor_y = 0.0
fullbright = true
| Field | Type | Default | Description |
|---|---|---|---|
texture | string | "" | Sprite sheet texture name (from sprites/ directory) |
width | f32 | 1.0 | World-space width of the quad |
height | f32 | 1.0 | World-space height of the quad |
frame | i32 | 0 | Current frame index in the sprite sheet |
frames_x | i32 | 1 | Number of columns in the sprite sheet |
frames_y | i32 | 1 | Number of rows in the sprite sheet |
anchor_y | f32 | 0.0 | Vertical anchor point (0.0 = bottom, 0.5 = center) |
fullbright | bool | true | If true, bypasses PBR lighting (always fully lit) |
visible | bool | true | Whether the sprite is rendered |
Design Decisions
Billboard sprites use a separate pipeline rather than extending the PBR pipeline. This keeps the PBR shaders clean and allows sprites to opt out of lighting entirely (fullbright = true). The discard-based alpha approach is simple and avoids the significant complexity of order-independent transparency, at the cost of no partial transparency (pixels are either fully opaque or fully transparent).
MSAA
Every scene pipeline (PBR, skinned, sky, skybox, ocean, terrain, grass, particles, billboards, 2D sprites) takes a sample count, so the scene passes can run at 4x MSAA (ADR 0058). Post-processing, shadow and blit passes stay single-sample, and depth-reading effects consume a sample-0 depth resolve. Enable it with flint render --msaa 4 or flint-player --msaa 4; the default is 1 so headless pixel gates stay single-sample.
Post-Processing
The renderer includes an HDR post-processing pipeline that applies bloom, SSAO, fog, volumetric light, depth of field, Kuwahara, color grade, film grain, tonemapping, vignette, FXAA and render modes as fullscreen passes. See Post-Processing for full details.
When post-processing is active, all scene pipelines render to an Rgba16Float HDR intermediate buffer. A composite fullscreen pass then applies exposure, ACES tonemapping and the rest of the chain to produce the final sRGB output.
Configure post-processing per-scene via the [post_process] TOML block, override with flint render flags (--no-postprocess, --bloom-intensity, --exposure, --dof, --grade-gain, and the rest of the set listed on the post-processing page), or tune it live from the F4 menu.
PBR Materials
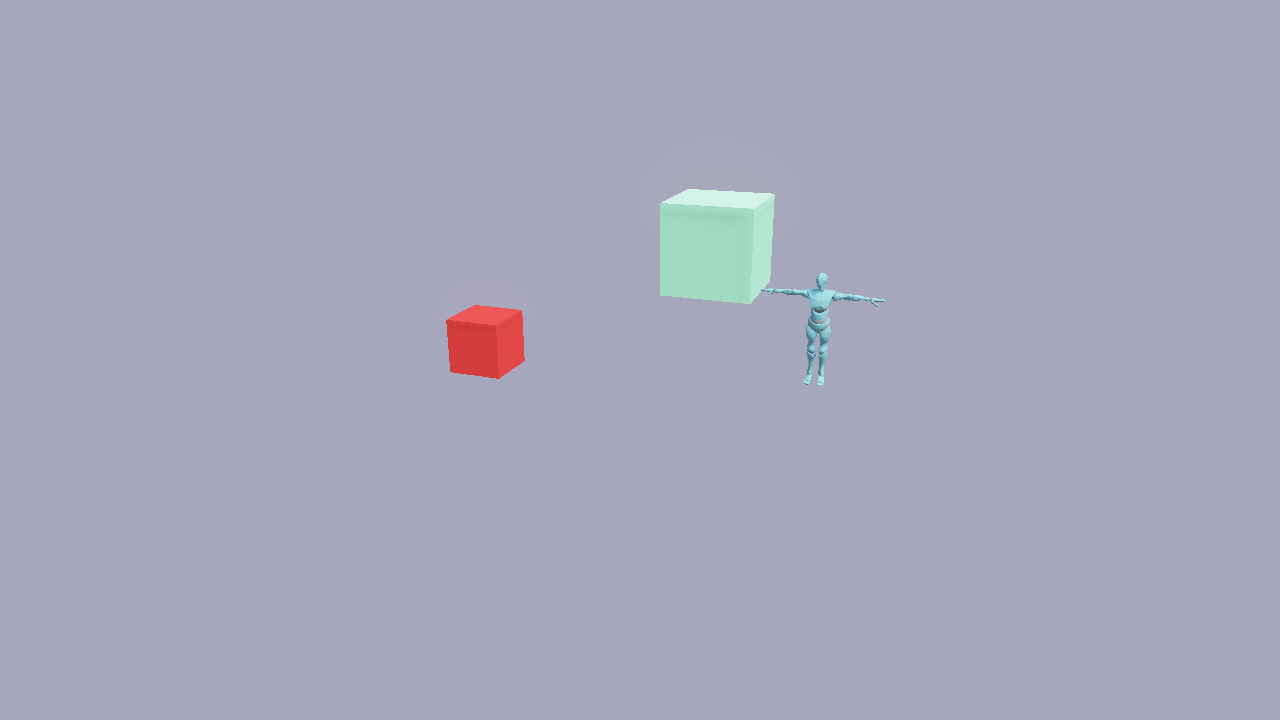
PBR materials with varying roughness and metallic values. Left to right: rough dielectric, smooth dielectric, rough metal, polished metal.
Debug Visualization
The renderer provides eight shading modes, selected from the Shading combo in the Rendering & Effects menu (F4) or with --debug-mode headlessly:
| Mode | --debug-mode | Description |
|---|---|---|
| PBR | (default) | Standard Cook-Torrance shading |
| Wireframe overlay | --wireframe-overlay | Edge lines drawn over solid PBR shading |
| Wireframe | wireframe | Edge lines only, no fill |
| Normals | normals | World-space surface normals mapped to RGB |
| Depth | depth | Linearized depth as grayscale |
| UV Checker | uv | UV coordinates as a procedural checkerboard |
| Unlit | unlit | Albedo color only, no lighting |
| Metal/Rough | metalrough | Metallic (red channel) and roughness (green channel) |
Both wireframe modes draw skinned meshes in their animated pose; rigged models used to get no lines at all in the overlay and vanished in wireframe-only.
Additional overlays:
- Normal arrows (F3 in the viewer,
--show-normalsin render) — draws face-normal direction arrows - Skeleton overlay (model previewer) — draws the armature over a rigged model, following the animated pose, with a colour mode that paints joints by last writer, layer weight, mask, or keyed joints. See Animation.
- Render stats (F2 in the viewer and the player) — frame time, draw counts, resolution
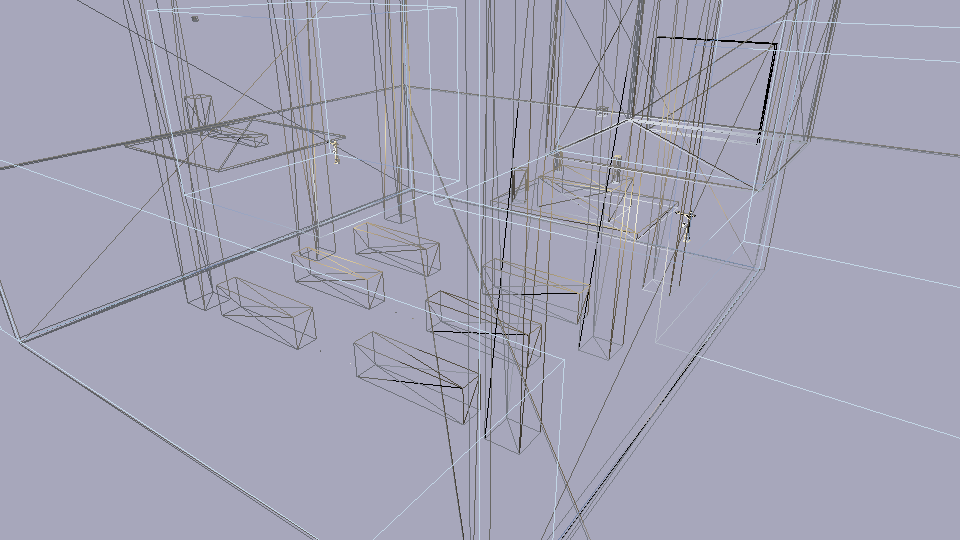
Wireframe debug mode showing mesh topology.
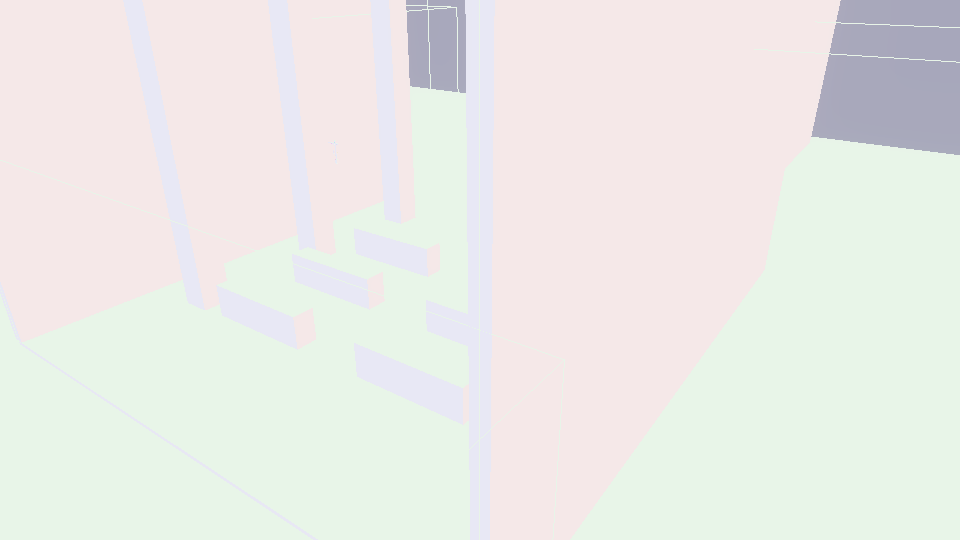
Normal debug mode mapping world-space normals to RGB channels.
Viewer vs Headless
The renderer operates in two modes:
Viewer mode (flint edit scene.toml --watch) opens an interactive window with:
- Real-time PBR rendering, with the scene’s
[post_process]block applied on load - egui inspector panel (entity tree, component editor, constraint overlay)
- Hot-reload: edit the scene TOML and the viewer updates automatically
- The Rendering & Effects menu (F4) for every render and post toggle, shading mode, shadows, lighting levers and FOV
- Auto-orbit turntable (O, with
[/]for speed) and--auto-orbitto start in it
Headless mode (flint render) renders to a PNG file without opening a window — useful for CI pipelines and automated screenshots:
flint render levels/tavern.scene.toml --output preview.png --width 1920 --height 1080
Technology
The rendering stack uses winit 0.30’s ApplicationHandler trait pattern (not the older event-loop closure style). wgpu 23 provides the GPU abstraction, selecting the best available backend (Vulkan, Metal, or DX12) at runtime.
Further Reading
- Lighting — the light component, shadows, area lights, and the
[environment]shading levers - The Scene Viewer — getting started with the viewer
- Scripting — UI draw API for script-driven HUD overlays
- Schemas — sprite component schema definition
- Animation — the animation system that drives skinned meshes
- Physics and Runtime — the game loop and first-person gameplay
- Headless Rendering — CI integration guide